1. Start "Ashtech" Hyperterminal session, and confirm some important settingsA Hyperterminal shortcut icon has already been made and placed on the desktop. Double-click this icon:
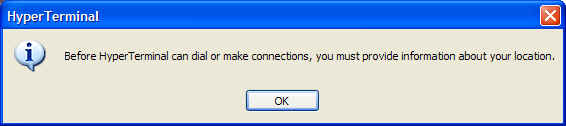
The Hyperterminal program will first ask some silly questions. Press Cancel:
And you need to confirm cancel:
It seems unwilling to give up, but just press OK:
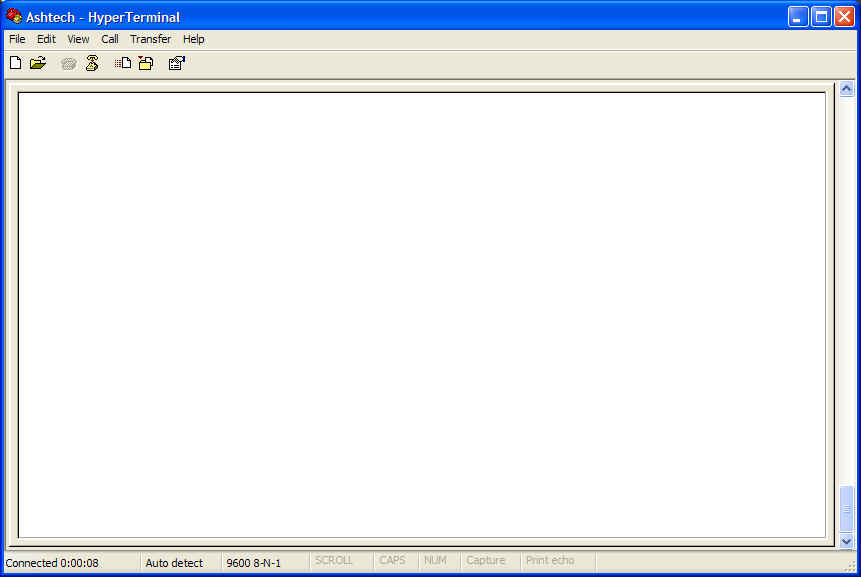
Now, at last, you are allowed to enter the program. Notice information in the status bar below: You are connected, and parameters are 9600, 8-N-1:
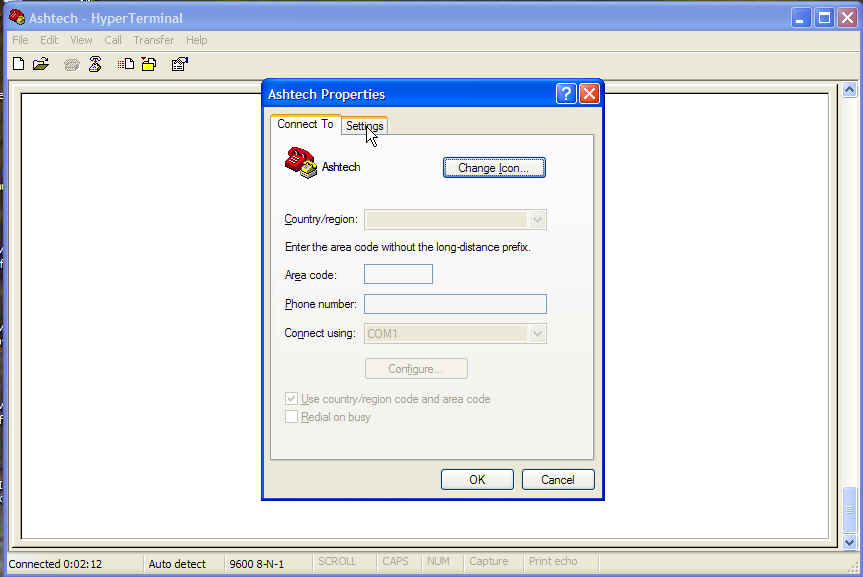
To be able to communicate with the Ashtech GPS, some settings are crucial. Confirm these settings by selecting "Properties":
Select the "Settings" tab:
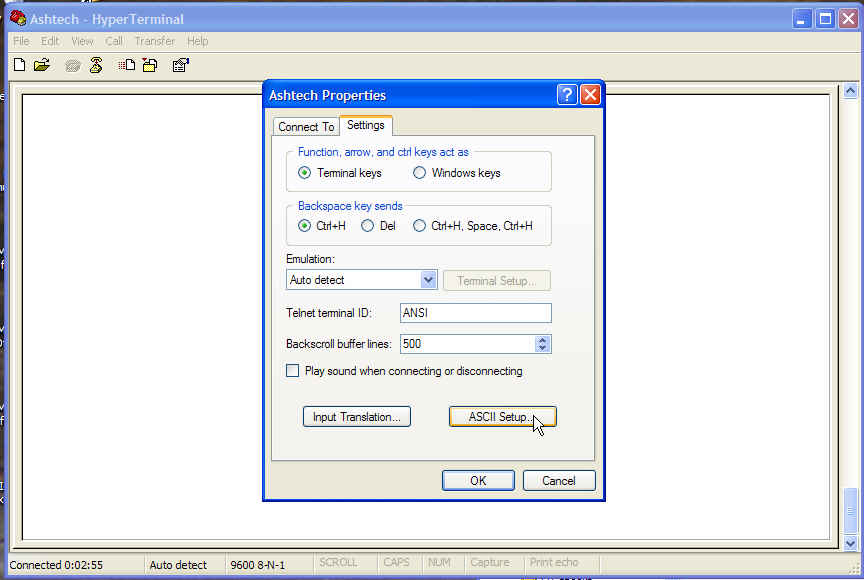
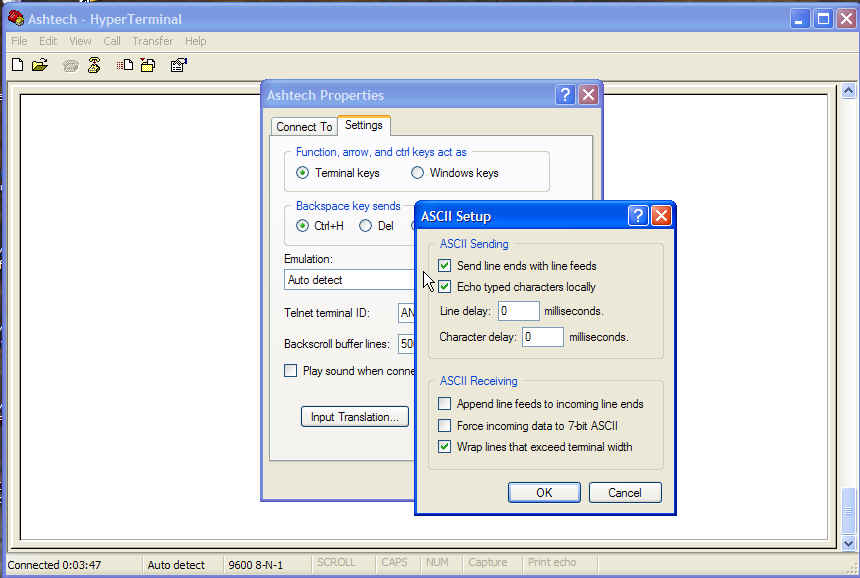
Then select "ASCII Setup ...":
Ensure that "Send line ends with line feeds" and "Echo typed characters locally" are selected, then press OK:
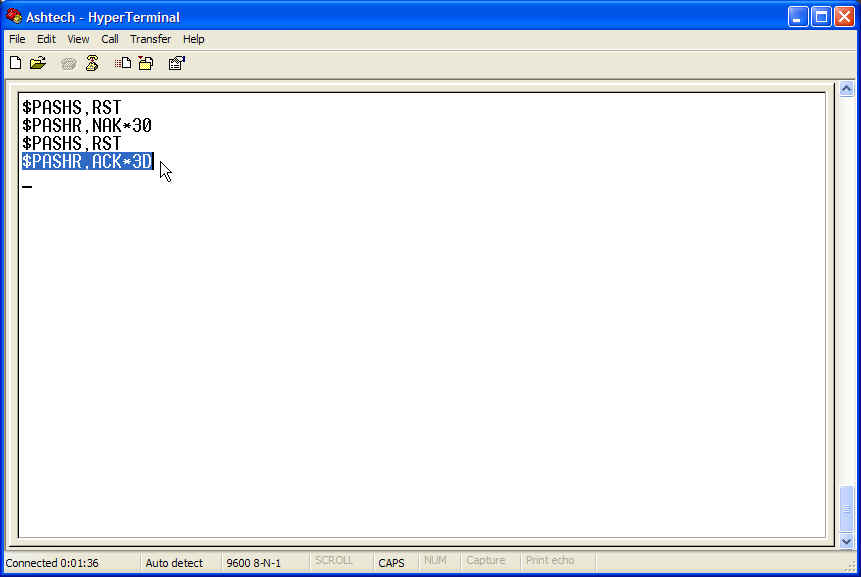
2. Setup Ashtech GPSFirst reset the GPS, by issuing the $PASHS,RST command. The GPS will respond with a confirmation message "$PASHR,ACK*3D" for every valid command. Note that in the first case below, there was a typo, and even if you press Backspace and correct the error, Ashtech GPS still will not accept the command. It then says: "$PASHR, NAK*30".
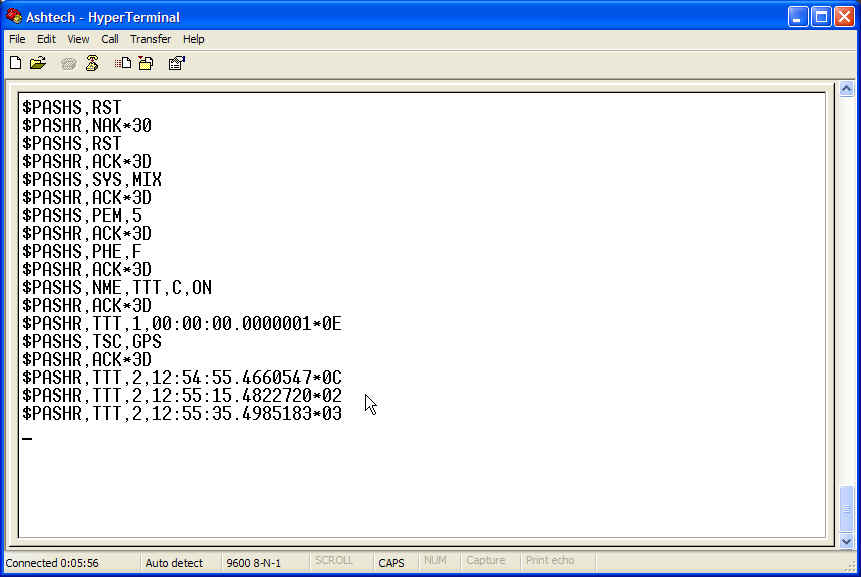
Now enter the following commands. Ensure you receive "$PASHS,ACK*3D" on everyone.
After you see that timestamping works as expected, activate the NMEA GGA sentence so that we also receive location information. Write $PASHS,NME,GGA,C,ON:
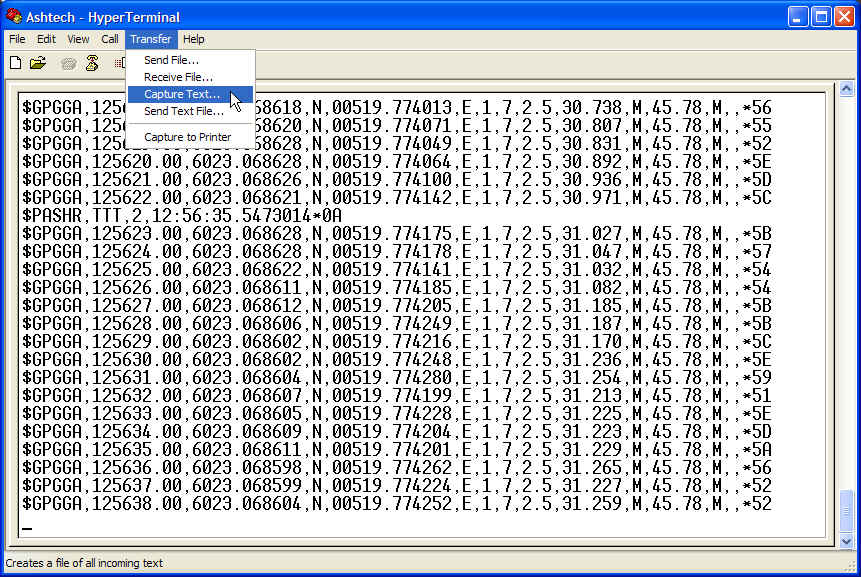
3. Capture data to fileSelect Transfer -> Capture Text ..., as shown below:
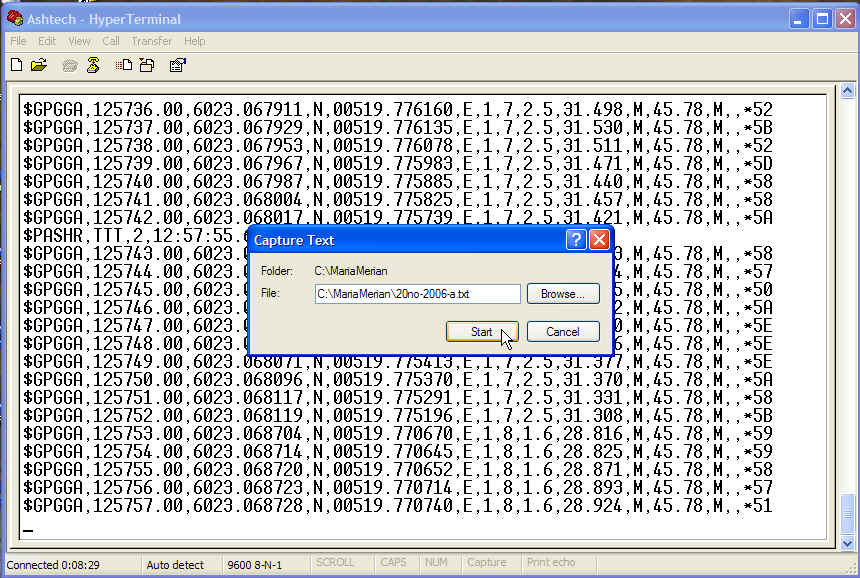
Provide a filename. Remember to give ".txt" extension:
If you want to stop logging, select Transfer -> Capture Text -> Stop:
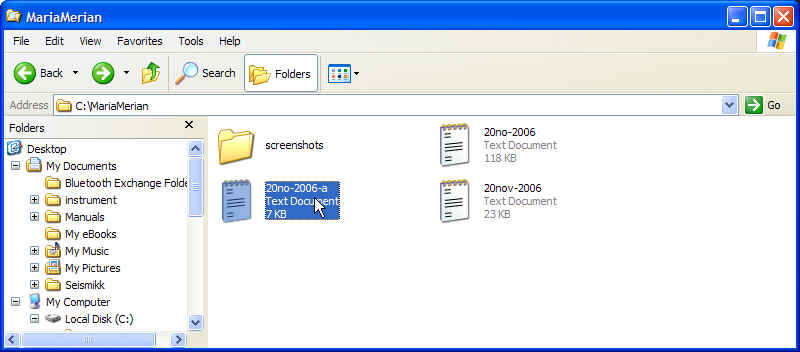
You must confirm data capture to file, using Windows Explorer (shortcut icon should already be on desktop):
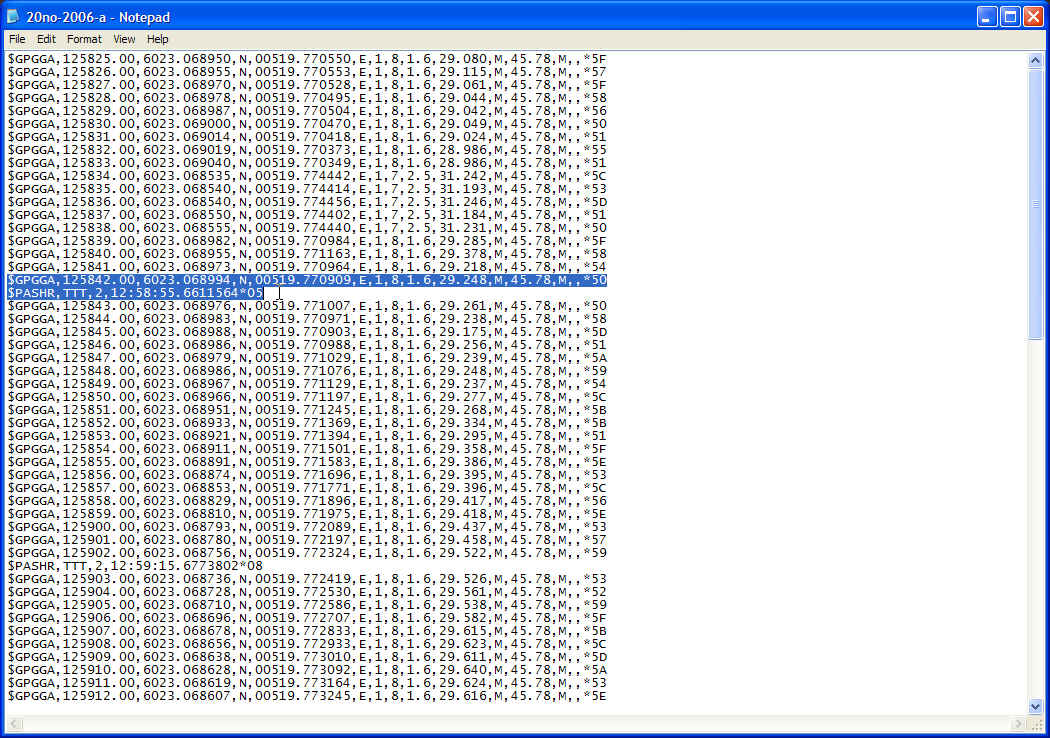
Just open the file:
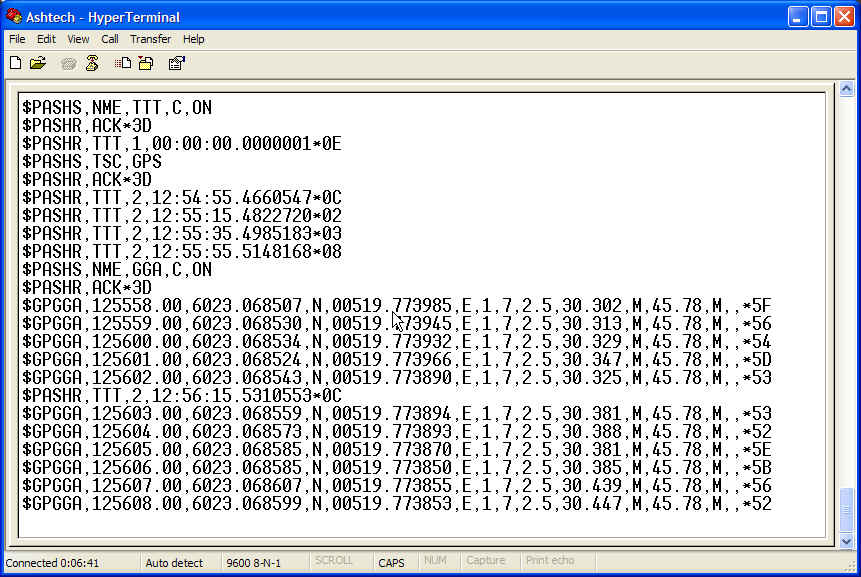
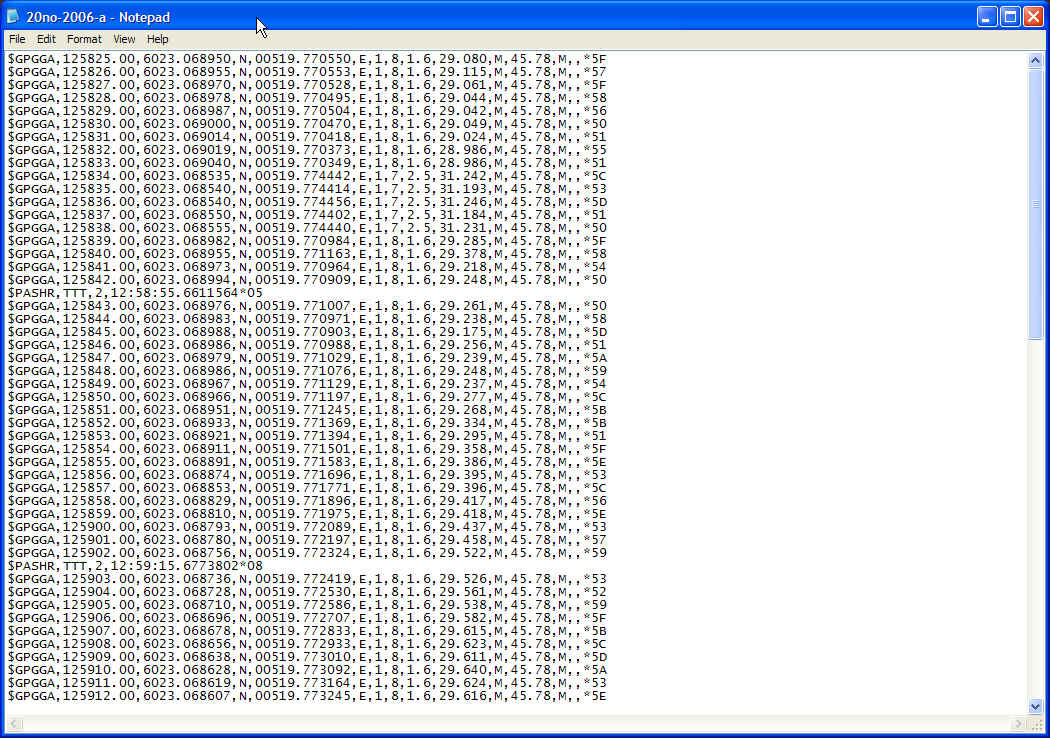
Notice how the difference between GPS- and UTC time manifests itself. GUNCO shot events are given in GPS time, and the $GPGGA time is in UTC. Current difference is 14 seconds:
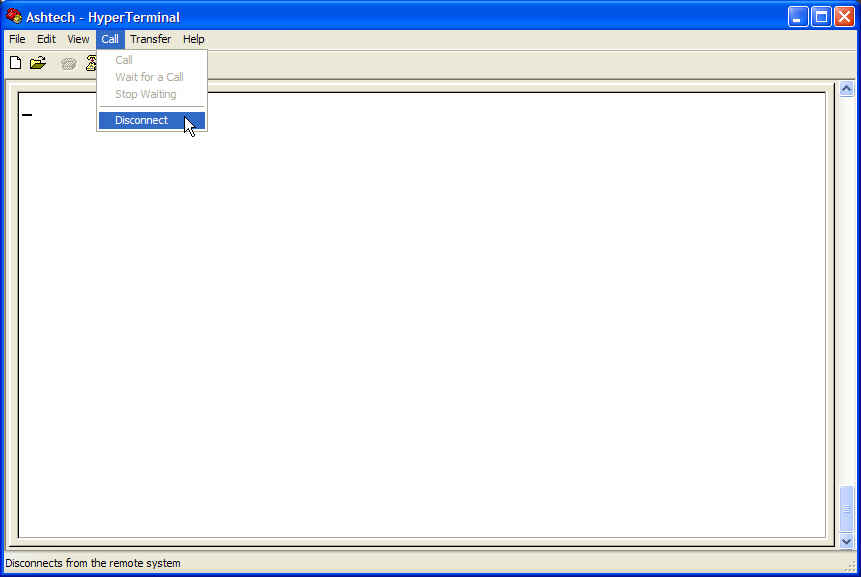
4. In case you need to alter/setup a Hyperterminal session:First ensure you are Disconnected, otherwise you are not allowed to alter hardware parameters:
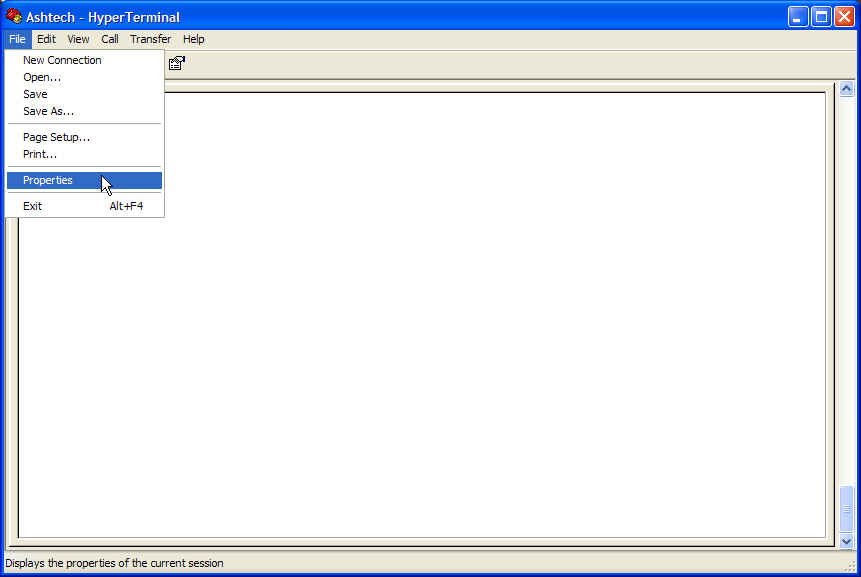
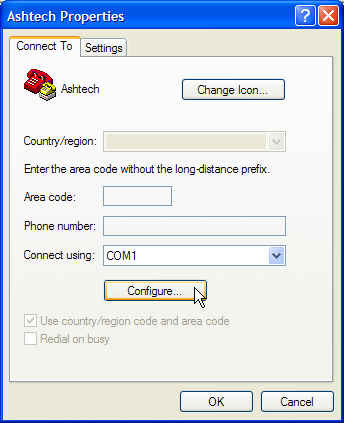
Select File -> Properties ....:
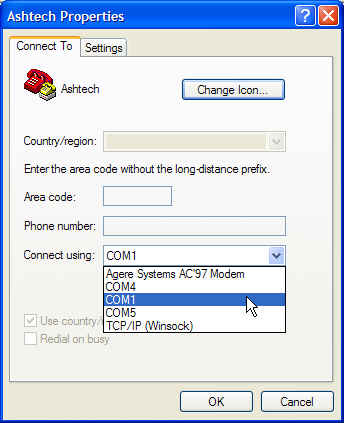
Then select proper COM port (COM1):
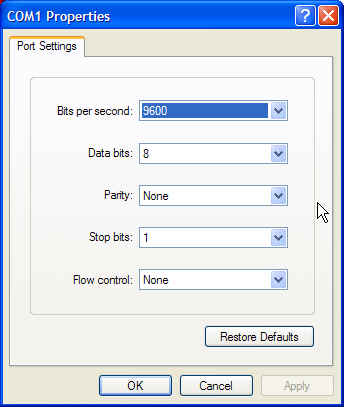
Configure this COM port:
Use settings as shown below, in particular, use "None" for Flow control:
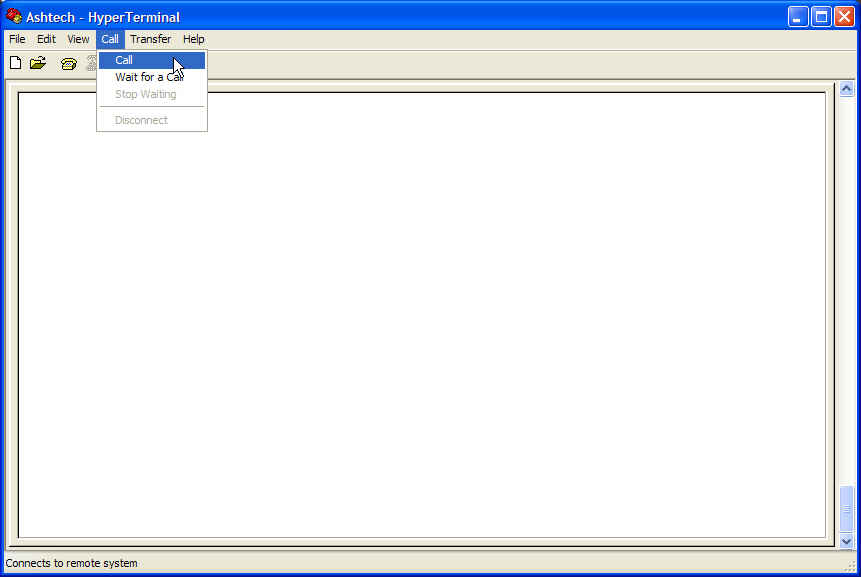
Then connect, by selecting Call -> Call:
Normally, this setup is not needed, but you never know ... O. Meyer, 20. November 2006
|